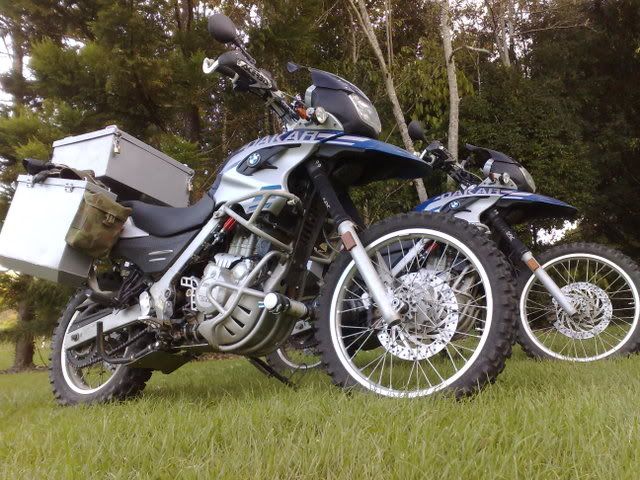
As we never really unpacked the gear we used on the last trip, we knew what was staying and going. This in turn meant that I could design something that would work around the gear we bring, rather than the other way around.
I started with the best way to pack it and build a cardboard box around that. Most of the heavier stuff would go in the side panniers, so the top box would only really have the tent, sleeping bag and mattress in it. Pretty bulky items, but not very heavy.
I drew it all up and send it to a sheet metal place to have it cut and bent. I asked a mate of mine to have it TIG welded.
While I waited for the box to return I started working out what to do with mounting it.
I cut out an option from cardboard.
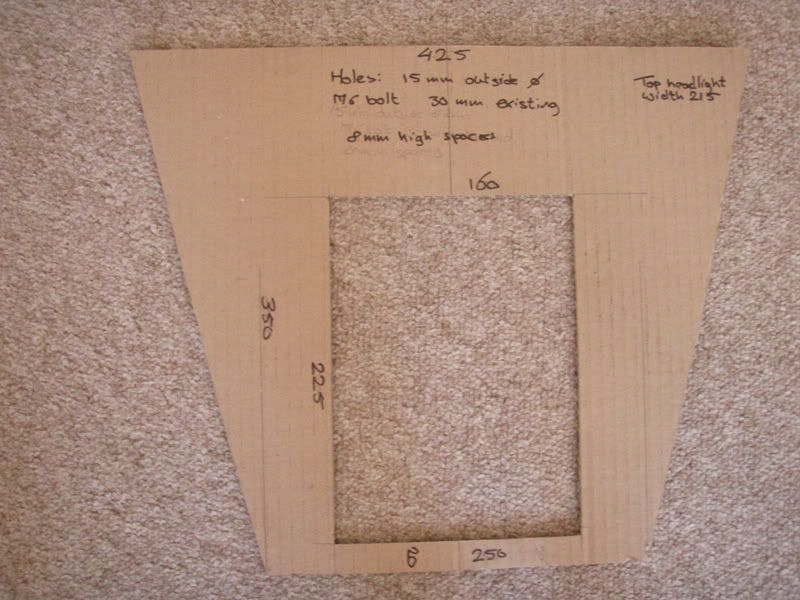
I figured that because the box would be rather large, it I would need some support at the front. Hence the brackets at the front end. Because of the shape that I ended up with, I would need to get it laser cut. Not cheap, but it would look pretty good. I used 5mm plate aluminium plate.
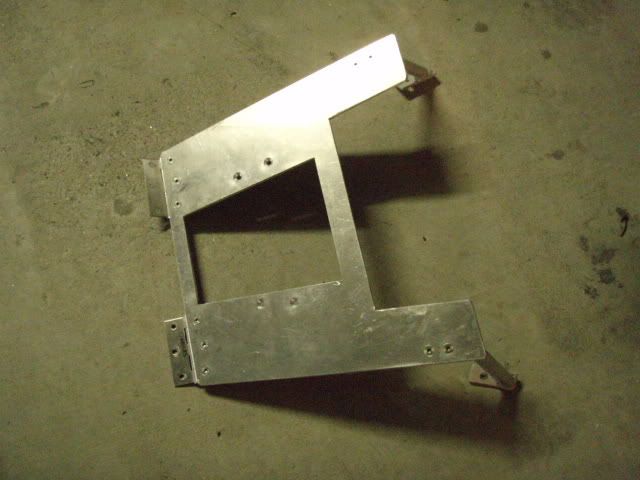
Still have access to the rear compartment.
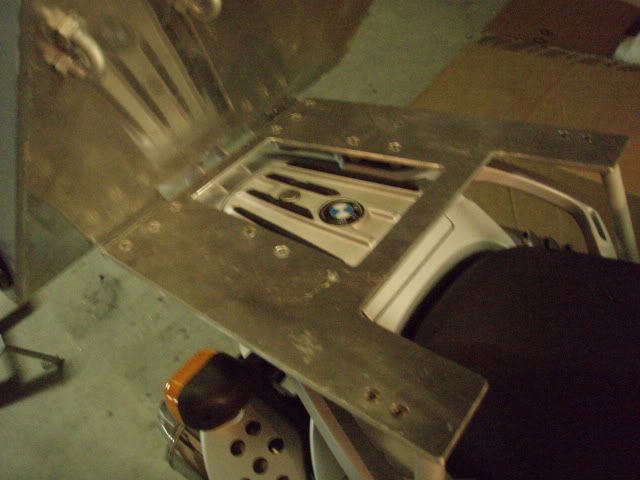
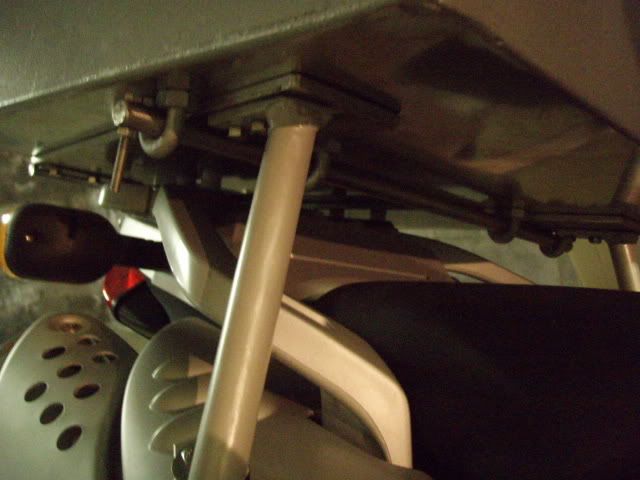
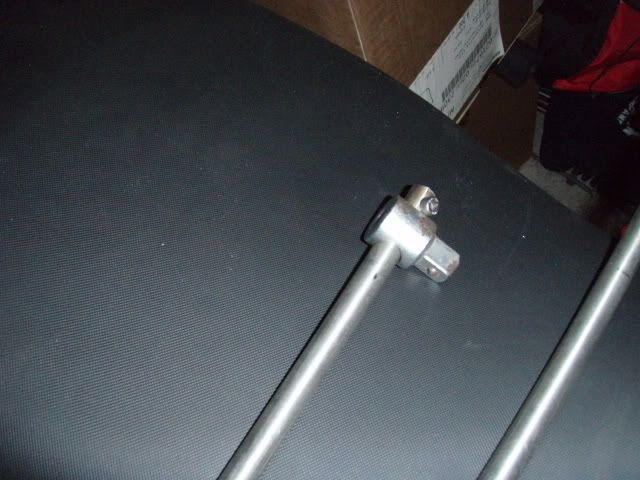
For a stop I used a half inch round bar drilled on either end and fed through some U-bolts. I figure I might as well put a half inch drive on it to turn it into a breaker bar.
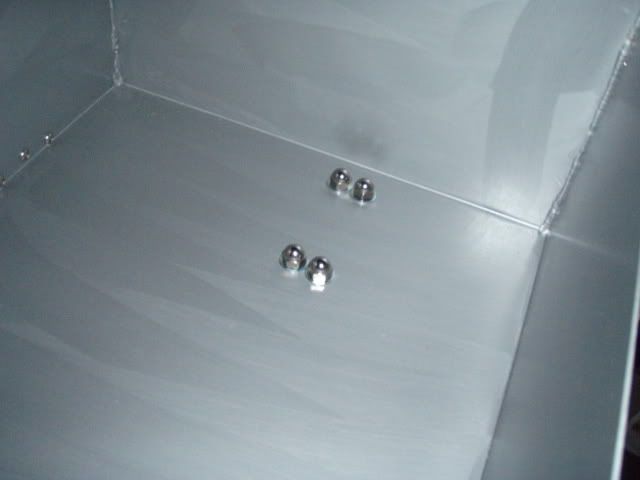
To prevent the gear from getting ripped up I used dome nuts.
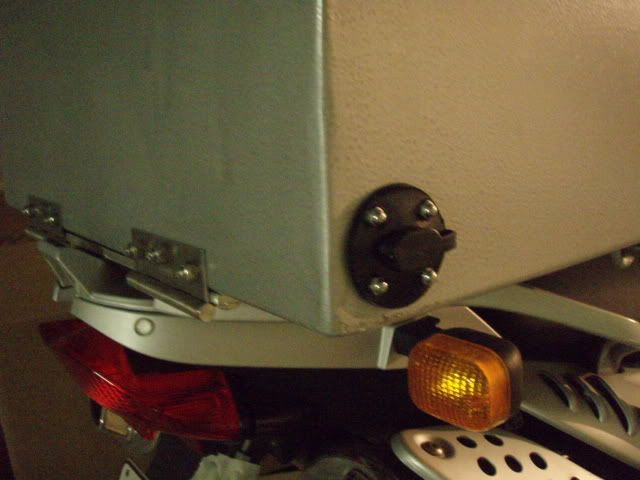
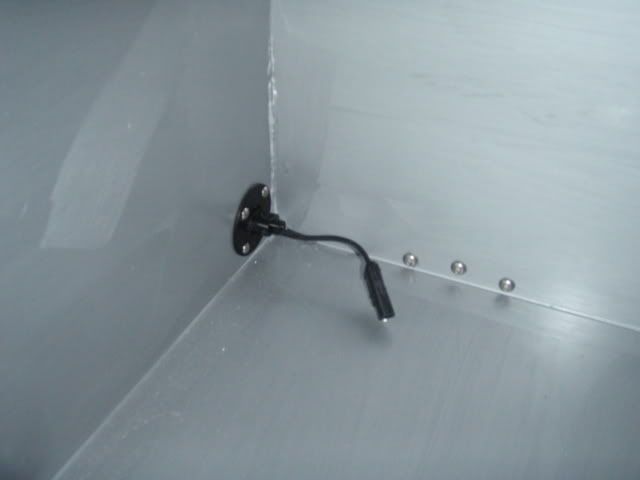
As I'll be travelling with an inverter I used a powerlet plug for easily accessible power. To stop my gear from going black I put some paint onto it. Nothing fancy, it’ll all get scratched anyway. Which is a good, because I suck at it.
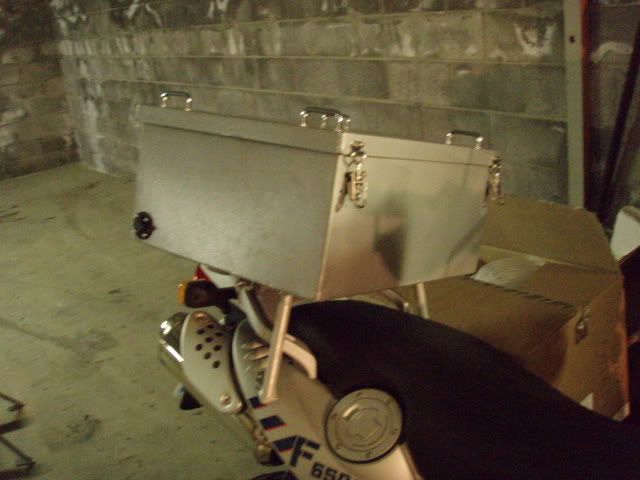
The first round of fittings. Some tie-down loop and the latches.
The second round of fittings, showing the hinges, elastic webbing and the pole holders to be able to tie a tarp between the 2 bikes for some shade in the desert or anywhere else where there is none.
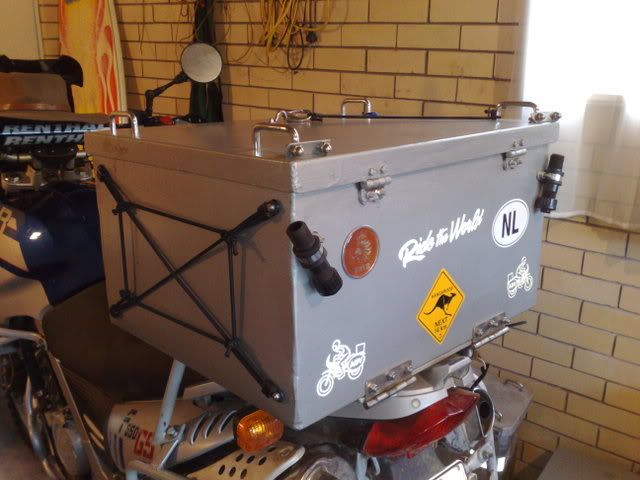
Other side.
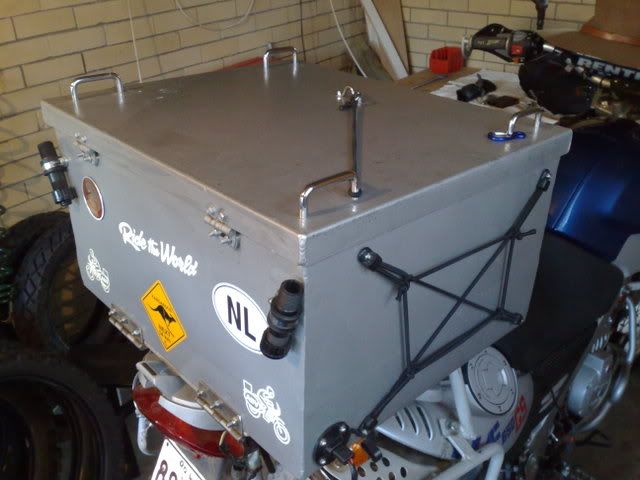
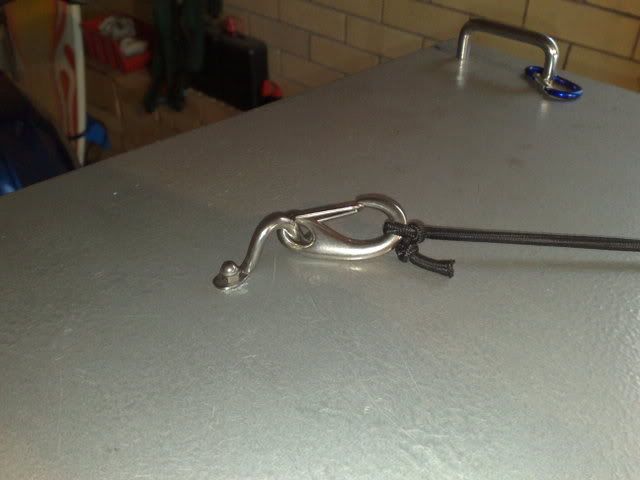
I’ve put a carabiner on the lid to have somewhere to put the helmet securely at borders or when refuelling which some elastic on it to stop it rattling.
PARTS TUBE:
I’ve experimented with some larger diameter ‘tool’ tubes.
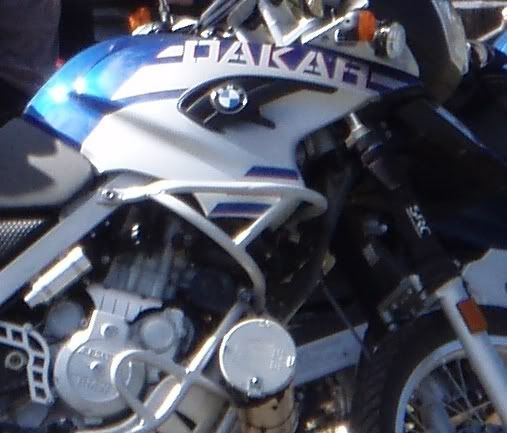
But a the first round of trails they broke. On both bikes.
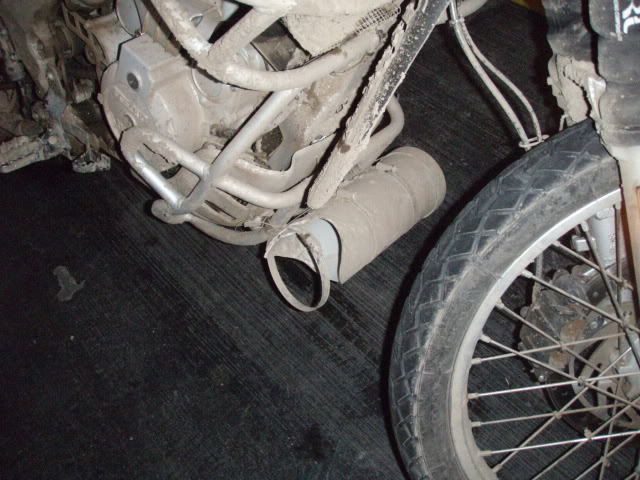
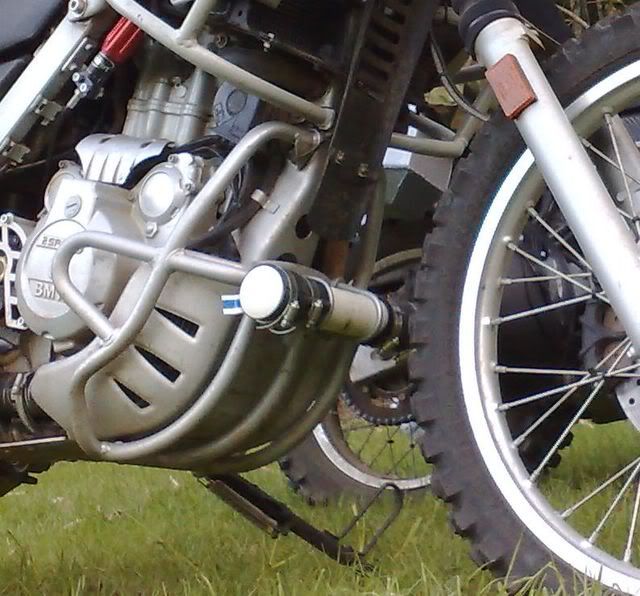
I never really gave up on the idea but decided to use it for parts instead. I had heaps of brake pads and a few bearings that I didn’t really know where to put them so that solved that issue. I also thought that I might be able to use the tubes as tools for driving things like fork seals or steering head bearings into place, so it’s a tool in it’s own right as well. This time the length and diameter should be small enough to survive.
PANNIER RACK:
Being a tight arse I didn’t want to spend heaps of dollars on a new pannier frame when I had perfectly good one off our old XT’s. So I cut the brackets of the rectangle, and tried my best to tack the new brackets on symmetrical. I had to be a bit creative with the pipe bender on the rear bracket though, but I’m pretty happy with the outcome.
What you can’t see is the brace between the 2 elbow pieces because it’s obscured by the rear mud guard.
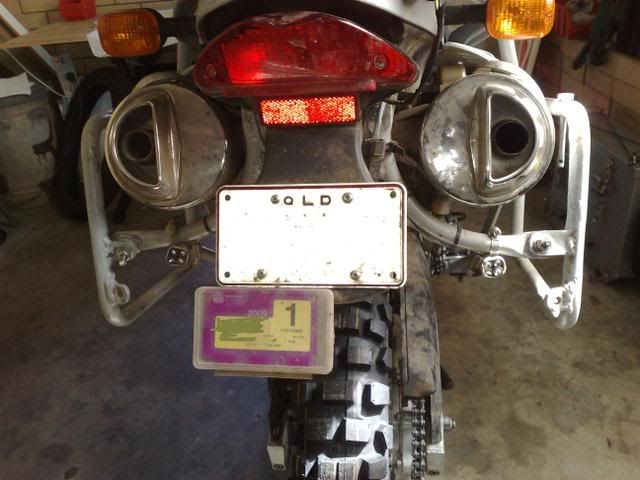
I went with the standard design of 3 mounting points. The rear of the sub-frame, the middle of the sub-frame and the pillion foot peg. I’m hoping that because the rear bracket is below half way down the rectangle, I may get away with not having a second brace between the bottom ends of the rectangles. The mounting points are there in case I will need it. No welding required.
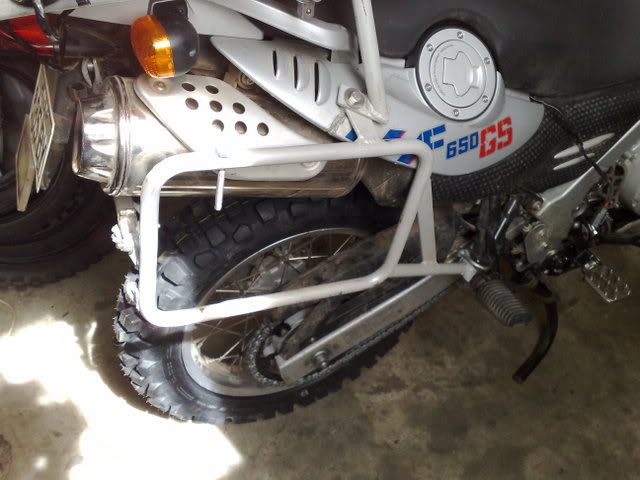
I used the pipe clamps that Metal Mule use, which is simply some 18mm pipe, cut diagonally with a bolt through it. So as you tighten the bolt, the pipe bits want to slide over the diagonal which than expand and press onto the outside of the pillion peg bracket. Unfortunately I couldn’t get it tight enough, so I welded a bracket onto the frame so I can also put a U-bolt against it.
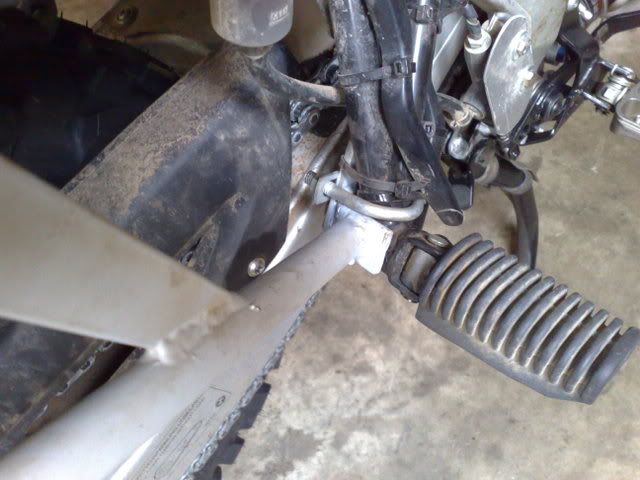
That should do it.
PANNIERS:
On our last trip we used the Metal Mule panniers. They only came in 2 sizes back than. Large and Xtra large. We actually bought 2 TT and 2 MM panniers to try and see which one was better. We preferred the MM pannier because of it’s locking system. But in the end we found them both unsuitable. They off-the-shelf designs are just too wide. This is mainly a safety issue for us as you don’t really anticipate the rear width if it’s not in your view. So last minute manoeuvring (very common when riding in poor countries) becomes a hazard. It also doesn’t help the stability of the bike or the ease of packing.
So I packed up all the crap I wanted to take on the next trip and bought some cardboard to build a prototype. The rule was and still is. If it doesn’t fit anywhere inside, it’s not coming. I have having crap all strewn over the place.
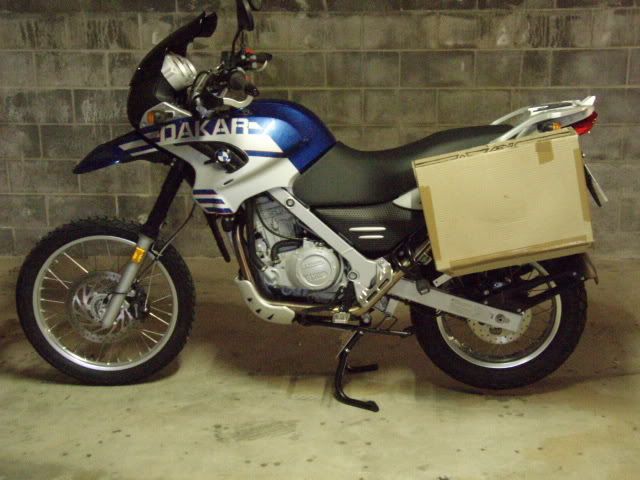
To organise the packing itself I used Eagle Creek pack-cubes. In the end I actually ended up with another brand for some stuff, but it was really only to set dimensions anyway. So the width became 135mm. The length is based on 2 pack-cubes pack side by side which turned out to be 520mm. The depth is the lengths of these pack cubes which is 355mm.
On the outside I wanted the angle of the areas to impact the ground or a leg to be 45 degrees, but the inside angle needed to be 90 degrees. So I came up with a double bottom design which I turned into a tank for water.
This is the CAD drawing.
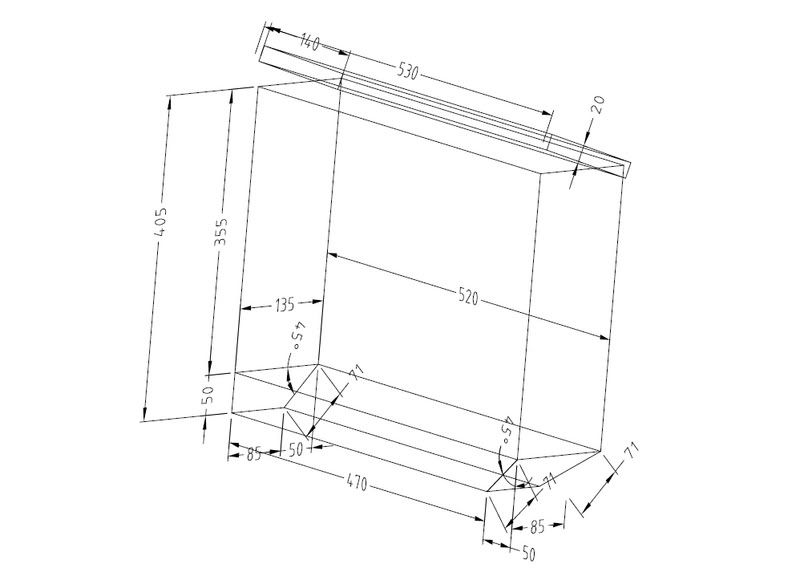
I CADed it all up in 2D for the sheet metal folders to get it all cut and folded. A mate of mine welded it all up because there was going to be a bit of fiddling with the taps and filler and breather fittings.
We ended up welding a bit of 5mm square aluminium plate to the boxes and drilled and tapped them out.
This is the tap I used which is just a standard ball valve with a BSP thread.
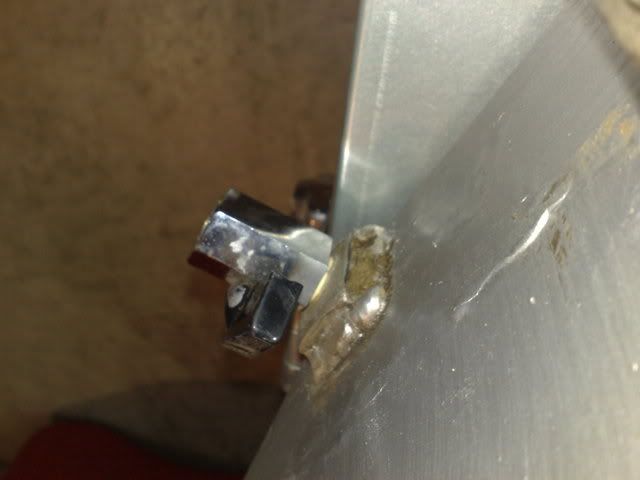
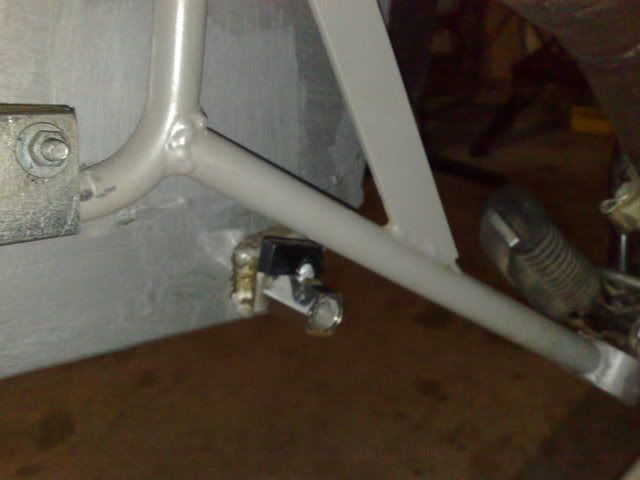
The trickiest thing actually became the mounting brackets. The compromised between ease of construction, strength, ease of removal and it not rattling too much became a headache. I tried a few things, but because I modified the luggage rack (of our old XT’s) to be as close to the bike as possible I didn’t have much room to play with. This is the result, but doesn’t show the U-bolt which really secures it to the rack. I don’t really plan on taking it off at a hotel stop anyway.
I used some galvanised RHS and steel strip
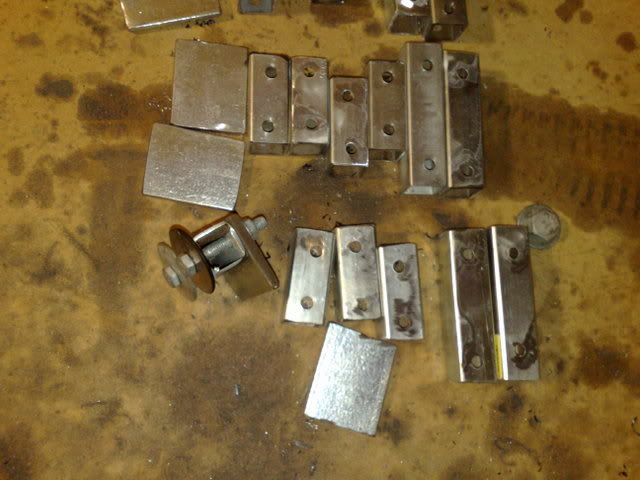
Again, getting the alignment equal on both sides was a big challenge, but I came away good overall.
Below shows the setup I had in mind with a securing pin through the rack and the brackets at the top and a rotating bit of plate half way down. Unfortunately the tolerances of the used materials and the slight buckling of the sheet metal after welding it meant that it rattled too much.
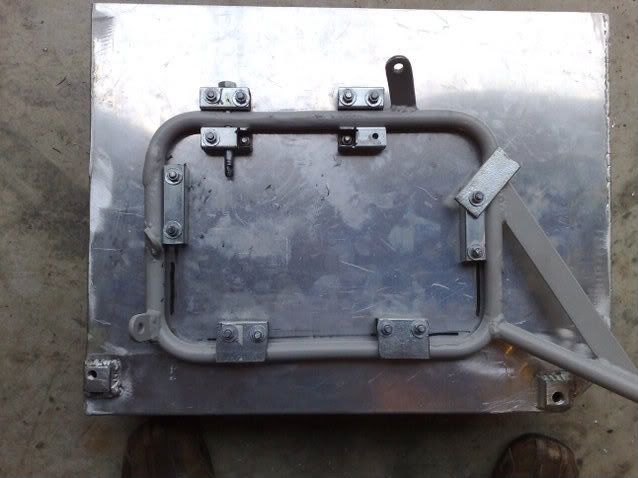
So I ended up with a U-bolt as well to tighten it all up better.
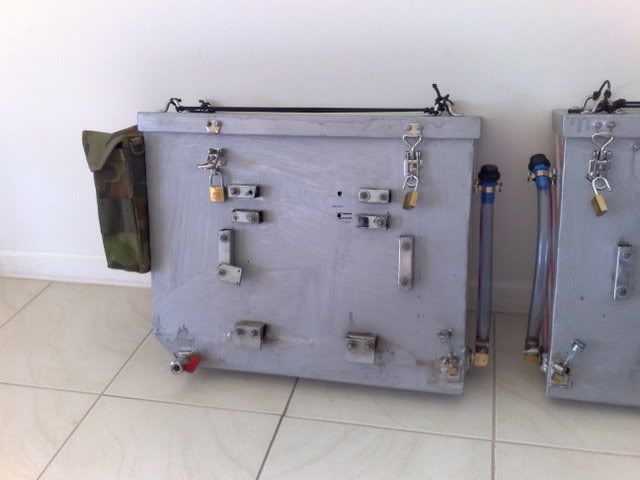
This is them with the fittings and tape. I used rope for handles.
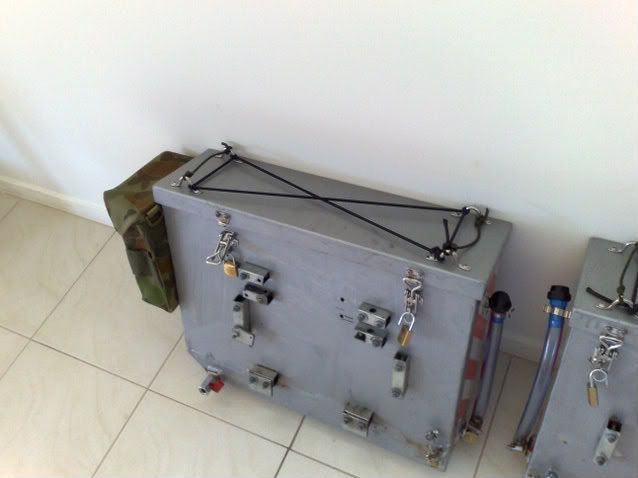
Quick access pouch and bottle holder
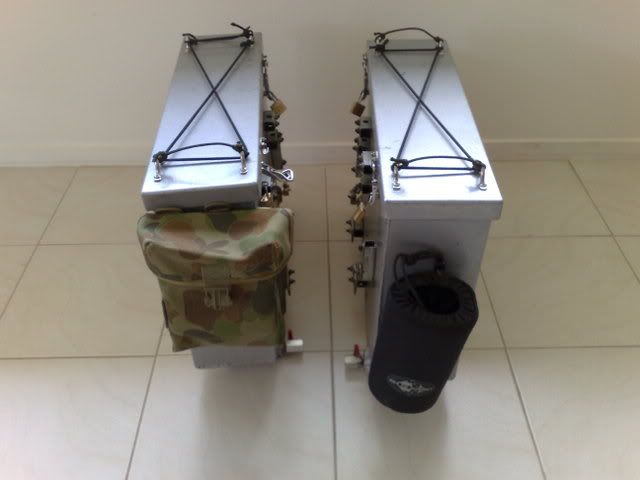
Filler tube at the rear
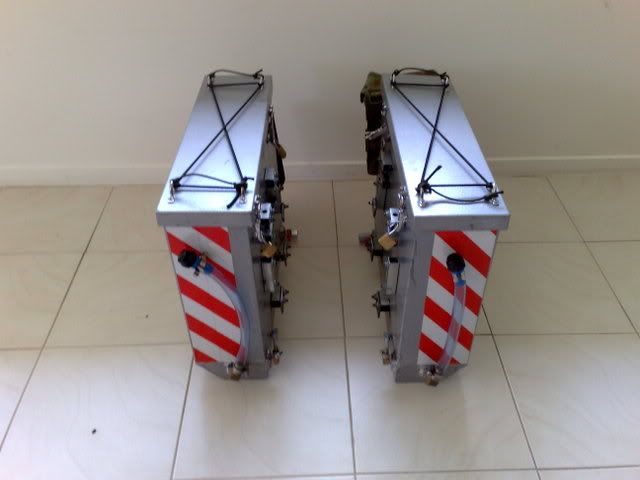
All up each pannier holds about 2.5l of liquid. I could put fuel in it, but having water conveniently available is more important to us. Hate having water bottles and other crap strapped on. We have [url=http://liquidcontainment.com/fuel_bladders.php]liquid containment fuel[/url] bladder with us for extra range, but will probably not need it.
The stability of this setup is amazing. Because the centre of gravity is really low and close to the axis of the bike you hardly notice the weight until you come to a halt.
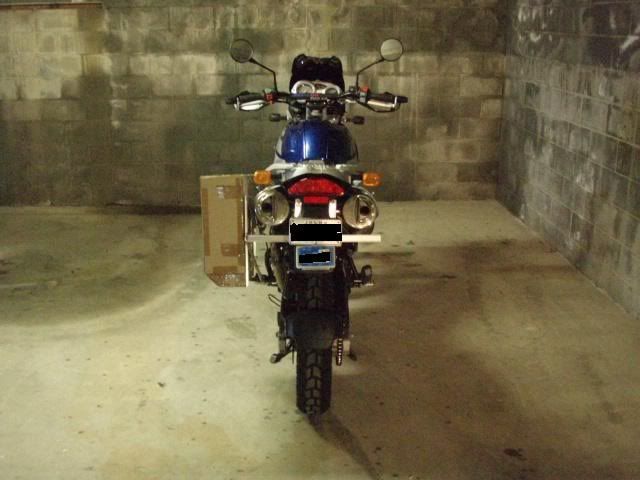
Resulting look, ready for adventure
