After looking back at the experiences from our last trip we came to the conclusion that spending heaps of money modifying a bike built in 1988 wasn't really that good of an idea. Parts are getting pretty expensive to get and never in stock. So upgrading to a new model was really the only thing left to do. We looked at the size first and still thought that a 650 single would be most suited. There were really 3 models we could look at.
The BMW F650 GS Dakar, the KTM 640 Adventure and the Suzuki DR650. Although the DR was by far the cheapest, it was also the oldest design, and really not a step up from the XT. I liked the KTM a lot, but it was too tall for Mars, so the F650 was really the only choice. On the plus side there was heaps of info about it on F650.com. It has fuel injecting, very comfortable and a modern design. So no more leaking fuel when it falls over and no more fuel taps. It's heaps more economical, has heaps of aluminium and plastics which is good when you live on the coast, has a 400w alternator and has a comfortable seat with the fuel tank right below it which is great for the low centre of gravity. It also makes working on the bike a bit more convenient as you don’t have to remove a tank full of fuel anymore. The motor is made by Rotax and apparently should be good for 200,000+km. In Australia it comes standard with ABS and heated grips as well as a hazard warning light. Nice when you have to pull up along the side of the road all the time (don't ask).
On the down side it is very heavy and has some weird design issues like it using a solid oil return hose to the oil tank, making it very difficult to change the water pump. And off course it's a BMW, so aesthetics is often more important than usability or ease of maintenance.
So, as good as it might be, there are always things you want to modify. And I had a list of things based on things I didn't like on the last trip.
ACCESSORY WIRING
First job was to do the wiring. This trip was going to be very cold in the mountains, so I wanted to add heaps of heat options. Last time we went with the heated vest option, but that didn't really do the trick. This time we're going with the standard heated grips, as well as heated socks, optional heated glove liners (I already own some, so might as well lay the wiring) and a plug for a heated vest that I already own.
Other items which I'm allowing for are:
1. Alarm and warning LED
2. LED's all over the rear and front to be noticed
3. Inverter (why take 12v chargers?)
4. Datel battery monitor (more later)
5. GPS
6. Spot lights for a wider light spread.
7. Horn upgrade (for blind turns)
8. And a general plug for things like battery charger or tyre pumps.
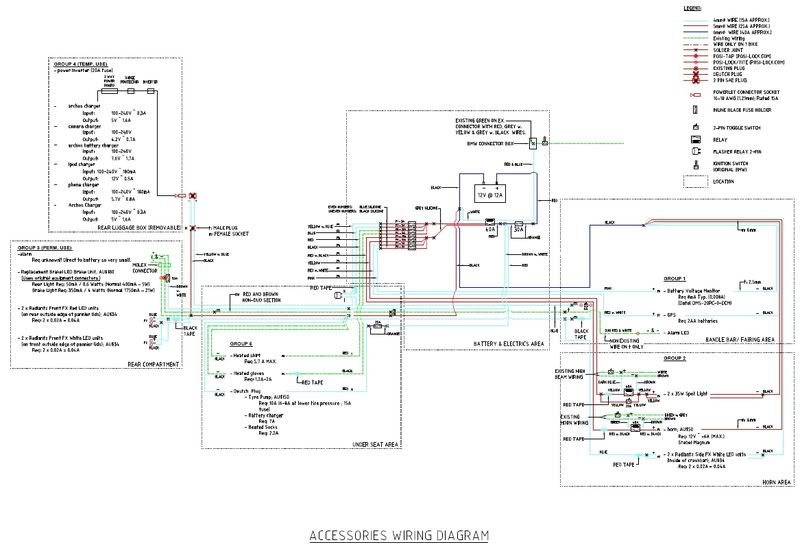
This is the resulting diagram that I came up with.
Here are a few pictures:
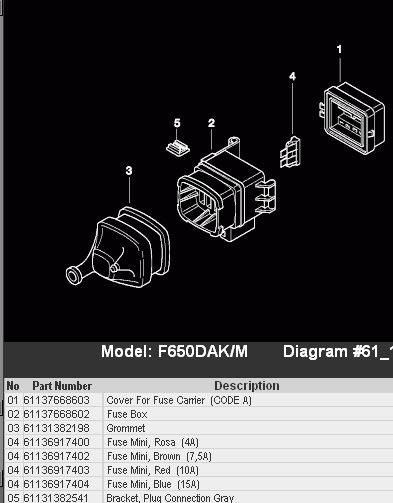
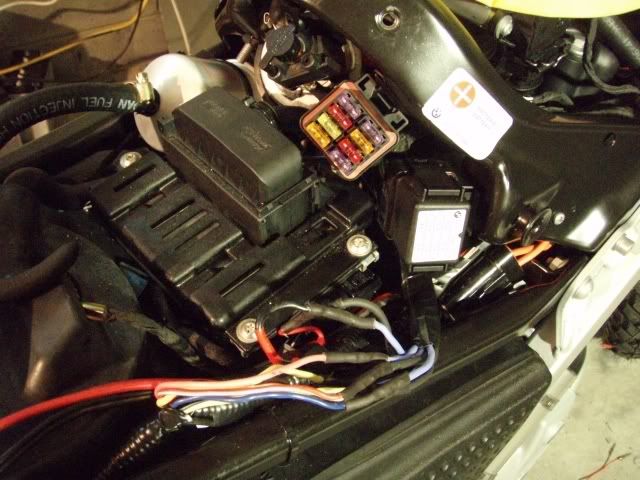
The additional fuse box. I just used another OEM one. Cheap and tiny.
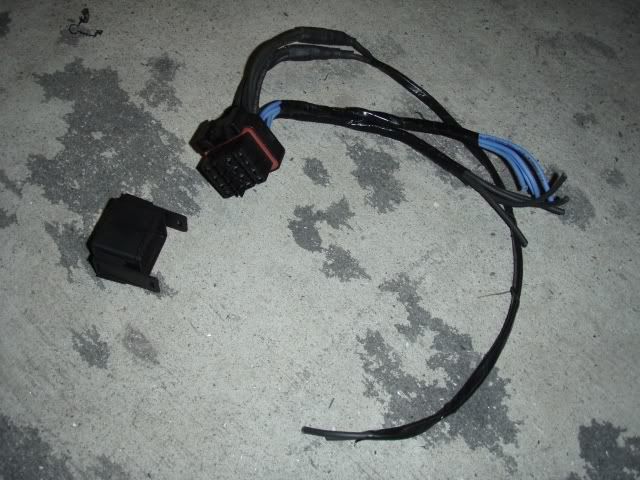
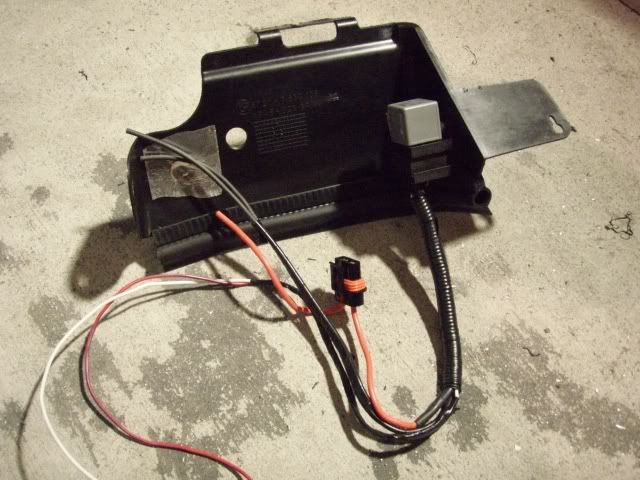
The master relay and master fuse. I wanted everything to be off when the ignition is off.
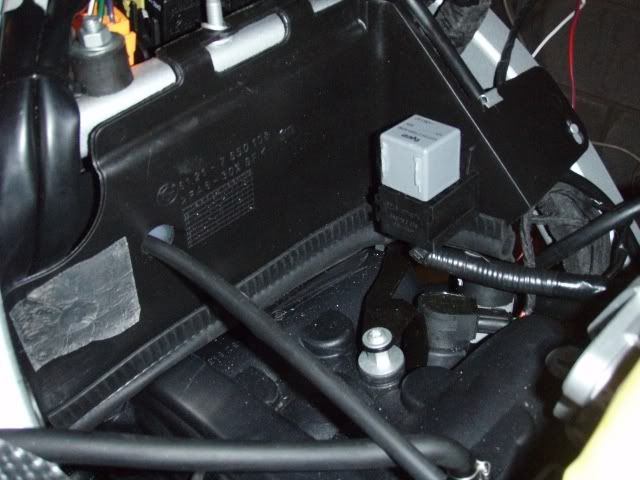
Unfortunately the only place we found to put it was above the engine. This makes removing the spark plug a bit harder.
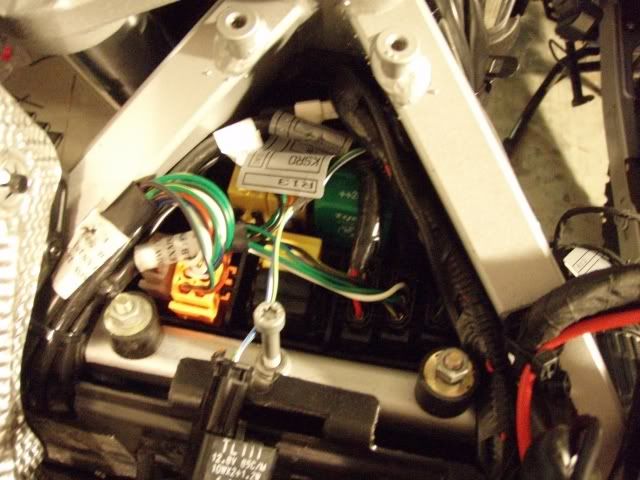
The switched wire was to be the one coming from the ignition switch which we tapped into in the relay box.
The relays on both sides of the head light bracket operate the spotties and horn. The spotties needed to be hooked up to the high beam as well as by itself. The horn needed to be operable with the existing horn switch.
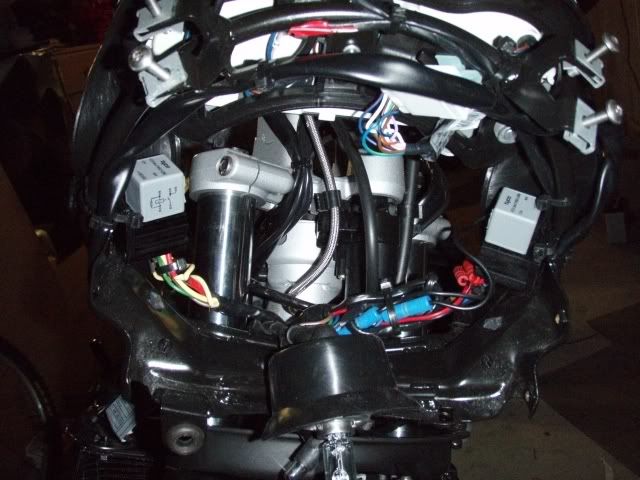
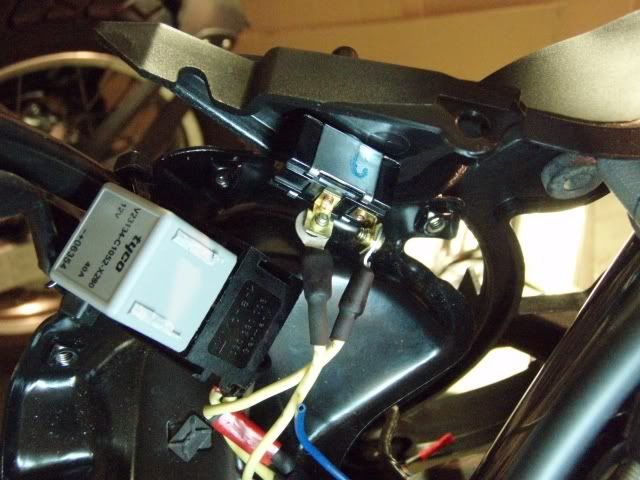

This all resulted in a lot of wiring running along the bike
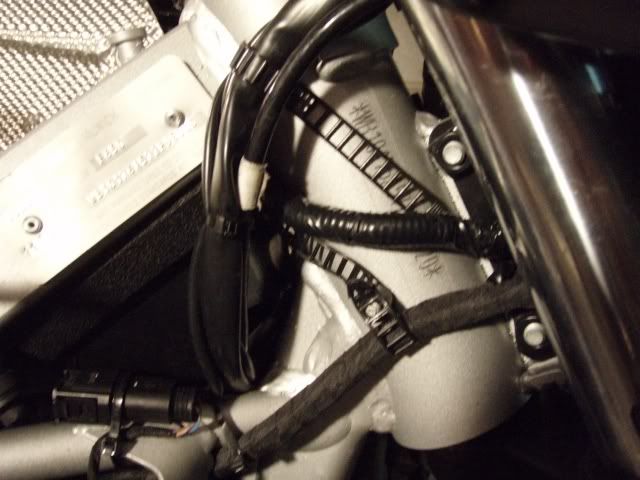
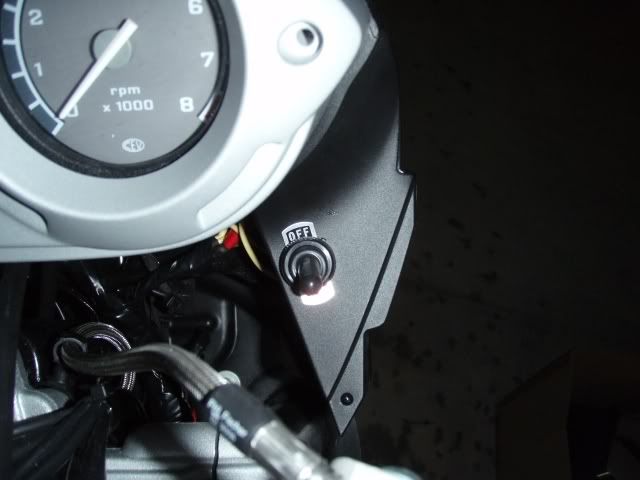
I added the switches for the spotties and front LED’s to the front ‘dashboard’ as well as the alarm LED warning light.
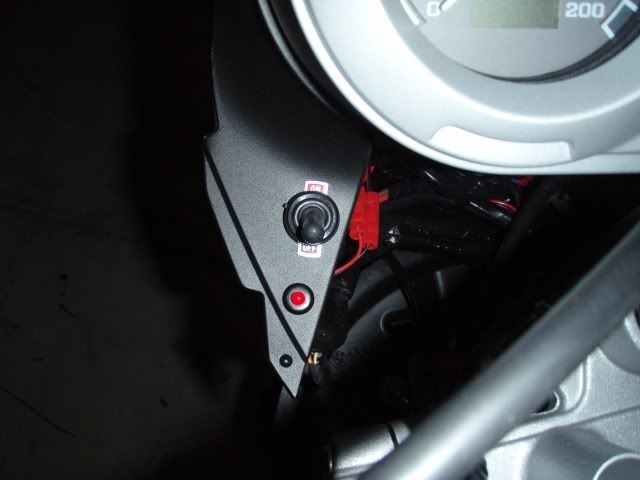
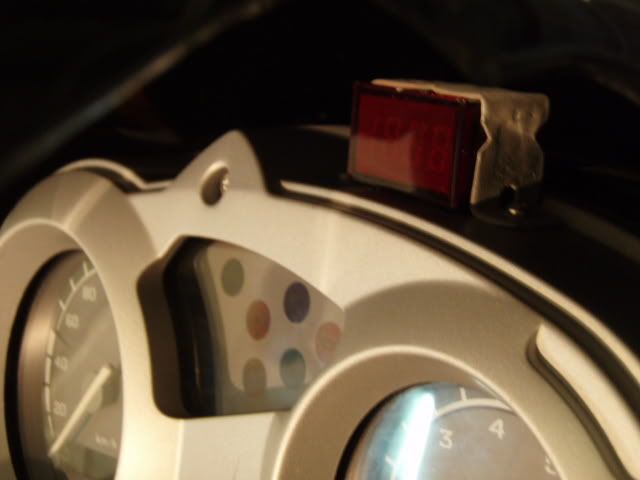
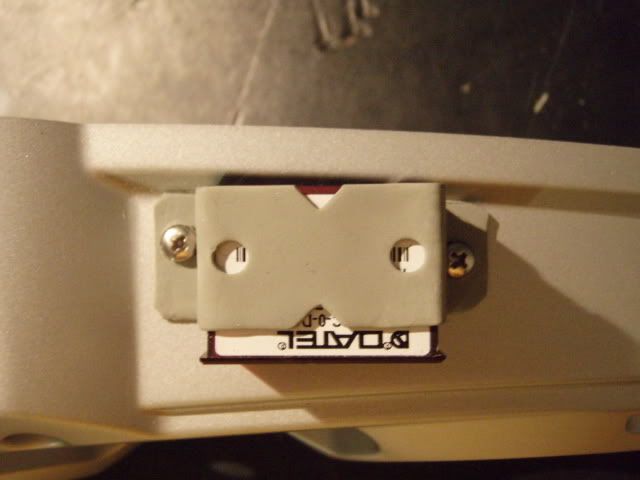
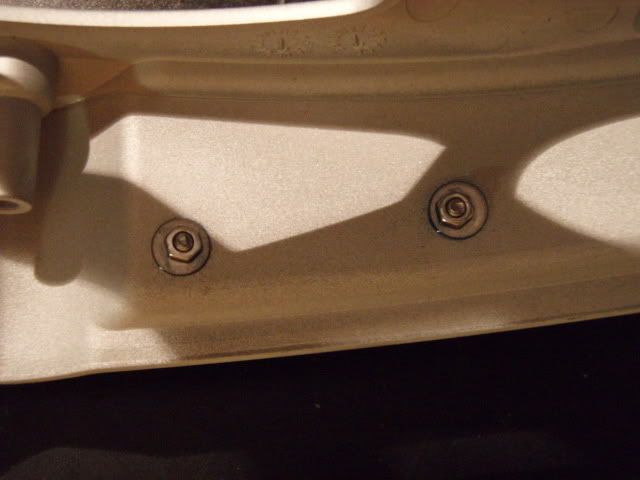
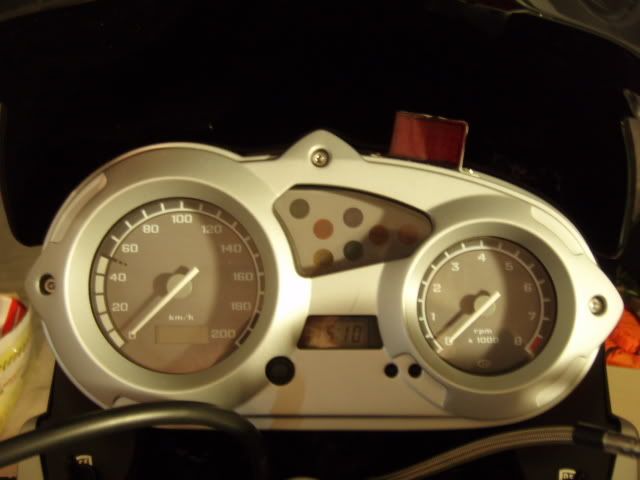
To keep an eye on the charging of the battery I went with a Datel volt metre. Because it’s so light I was happy to mount it onto the instrument panel with a bit of ‘make a bracket yourself’ or whatever it’s called from Bunnings Warehouse which is the local hardware store.
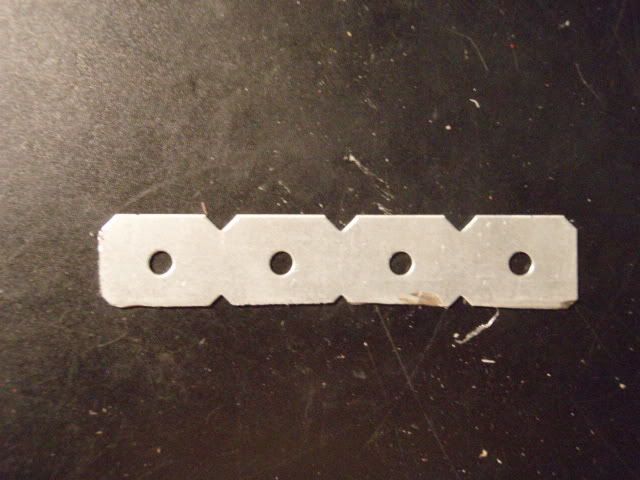
I bent it to suit, drilled the holes and bolted it to the cover. To stop it sliding out from underneath it I used some glue backed Velcro. Then I painted it and stuck it on.
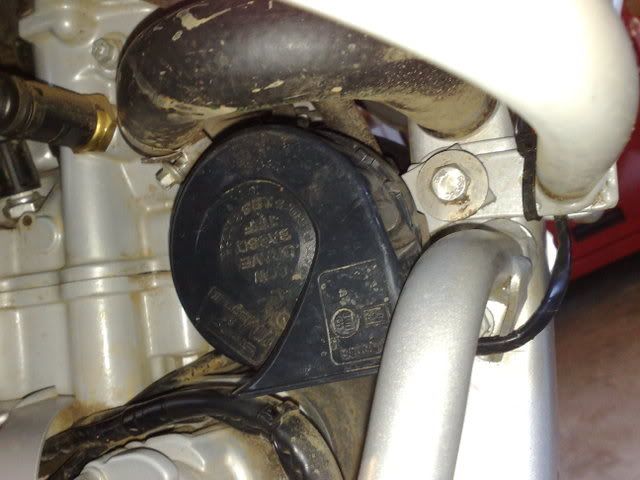
The horn also needed an upgrade to make ourselves heard around blind corners. The only option for me was a Stebel horn, but I decided against the Nautilus air horn because of a few reports that mentioned that the air compressor broke due to dust and vibration. They’re also a bit bigger and would make mounting a bit harder. The Magnum is not a loud as the Nautilus but is electromagnetic with no moving parts.
I simply added a steel bar to the engine mounting bolt and bolted the horn to that. It’s wired into the existing horn so I can still use both on the existing horn button.
See the links on the right hand side for more information.
LIGHTING
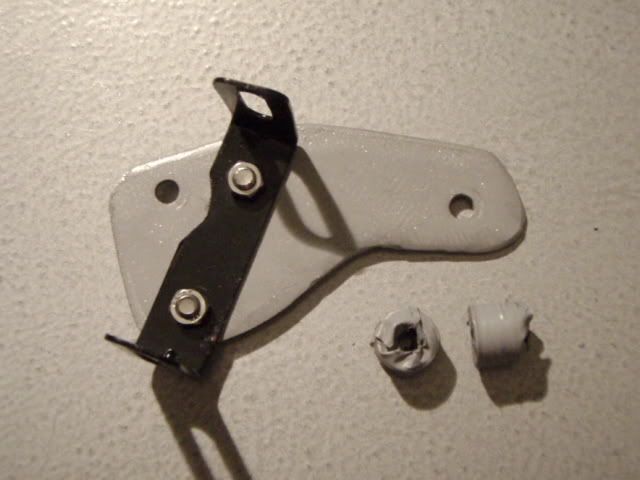
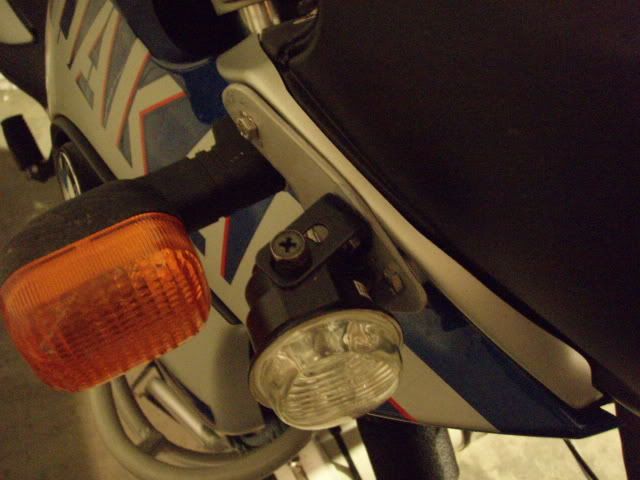
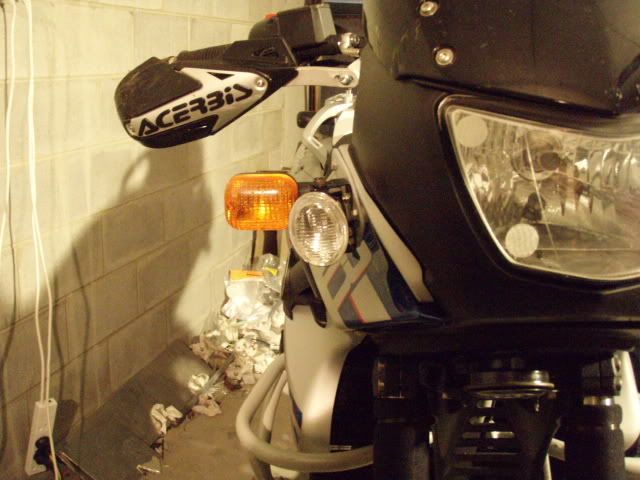
I found some cheap spotties at Super Cheap Auto for only 25 bucks a pair. The only thing I needed to do now was to build some brackets for it. Just in front of the indicators was the obvious place for them. BMW mount the indicators on a small triangular plastic panel. All I had to do was use the mounting bolts it used and drill a hole for the wiring.
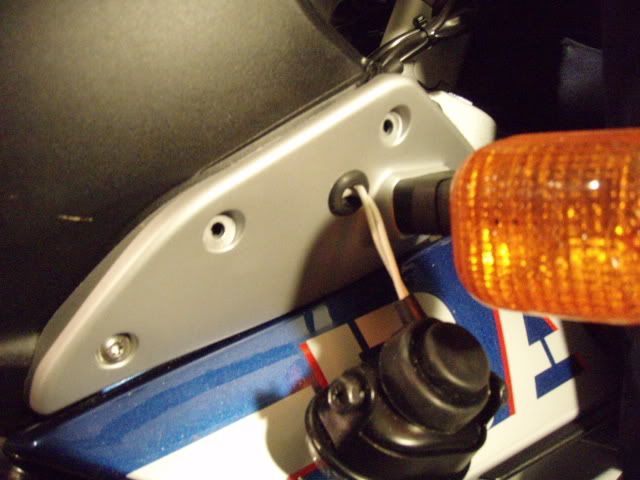
I shaped a small bit of aluminium for it and bolted the spot light bracket to that. For spacers I used nylon washers taped together.
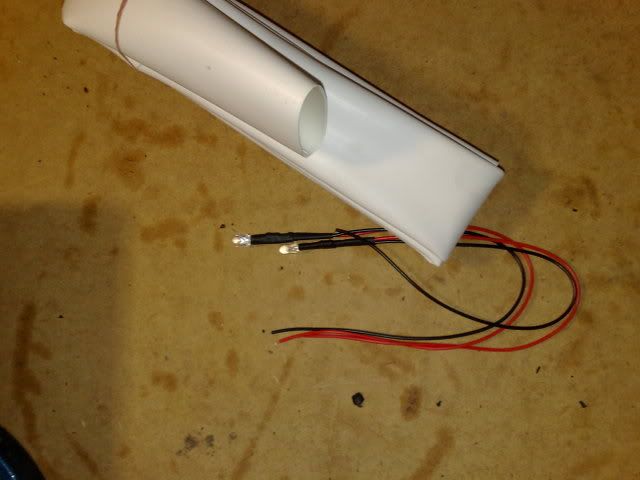
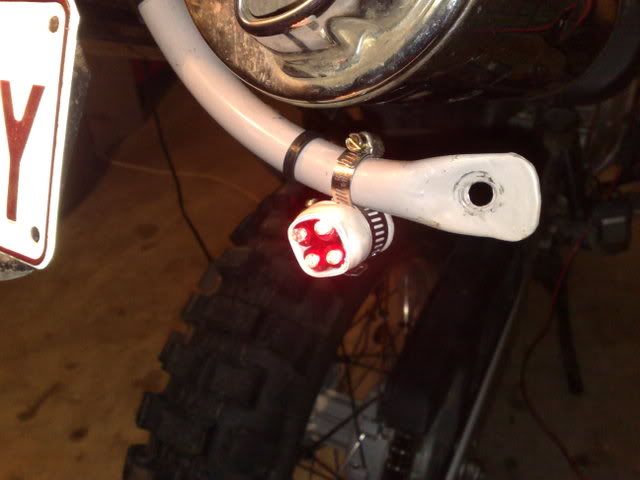
The LED’s I wanted were really expensive, so I thought I would build some myself. How hard can it be right? I found some rubber grommets with a long stem on them.
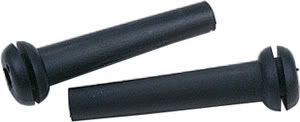
I cut the grommet off it and slid the pre-wired 12v 5mm LED in it. I found the LED’s on EBay for 15 bucks for a pack of 20.
I also got some large diameter adhesive heat shrink which was going to tie the 3 LED’s together and keep the water out of the tubes.
Then I used hose clamps to mount it onto the crash bars that are mentioned below.
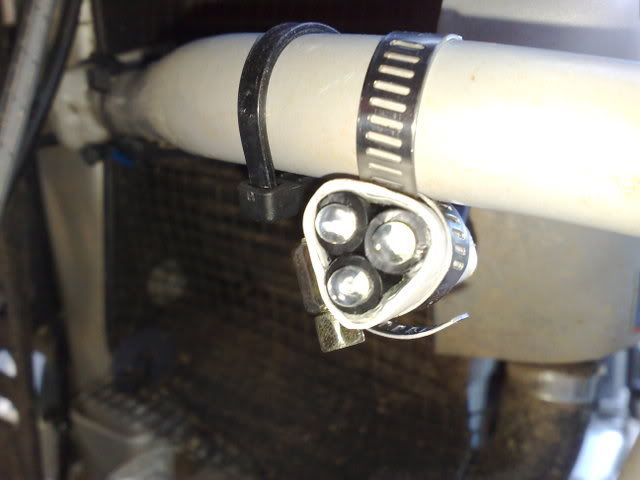
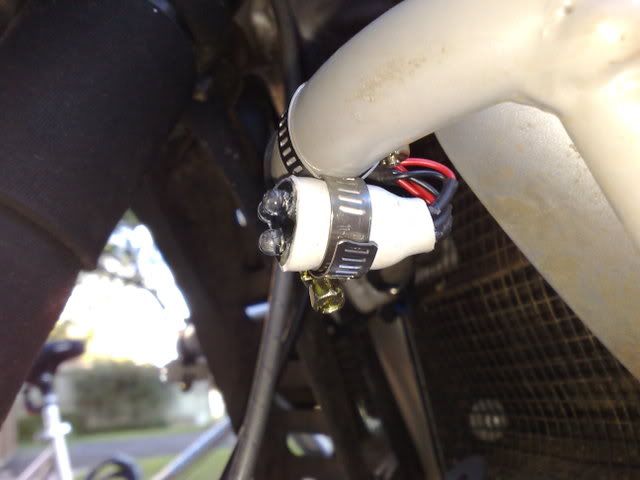
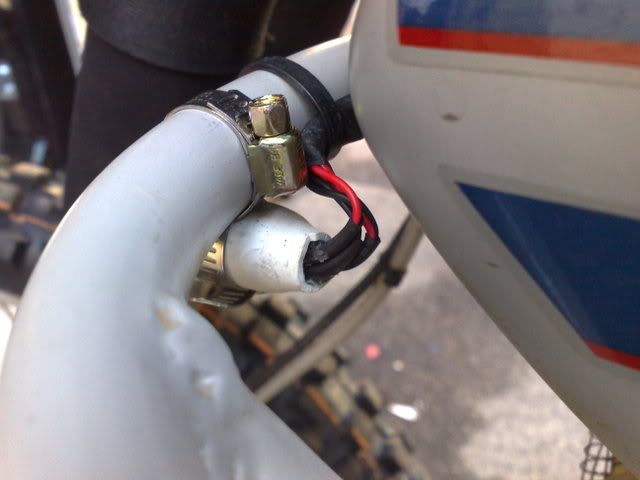
They stand out a mile even in the daylight.
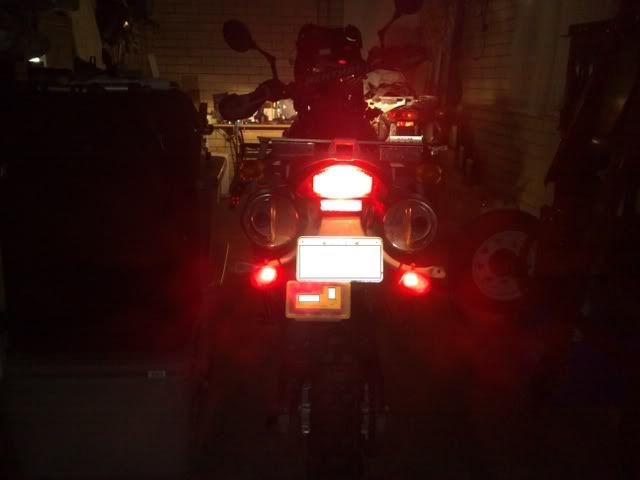
I did the same for the rear with the only difference being that I used 4 LED’s and wired 2 onto the brake light.
PROTECTION
Protecting the bike from all the stacking we would be doing was high on the list. In particular the faux tank and the $500 panels.
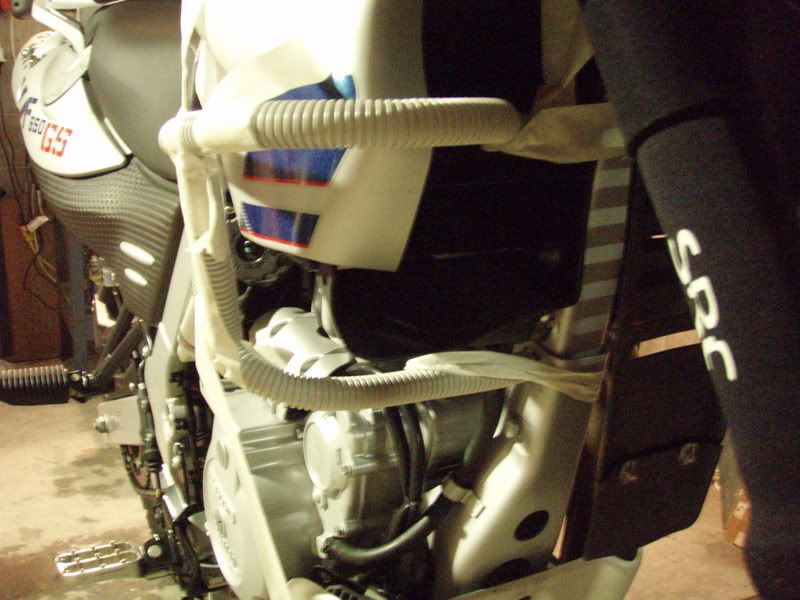
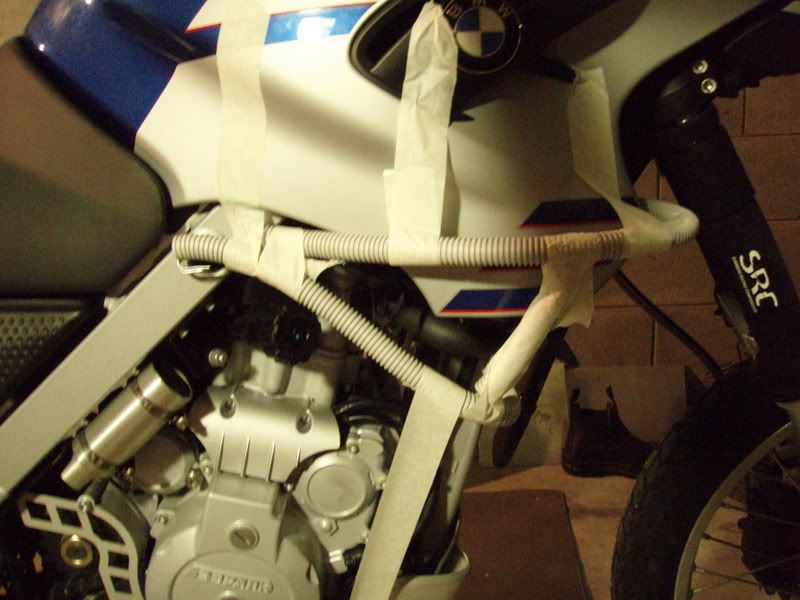
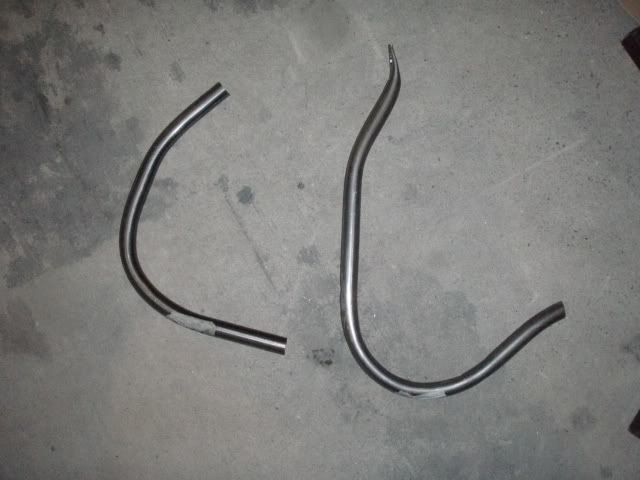
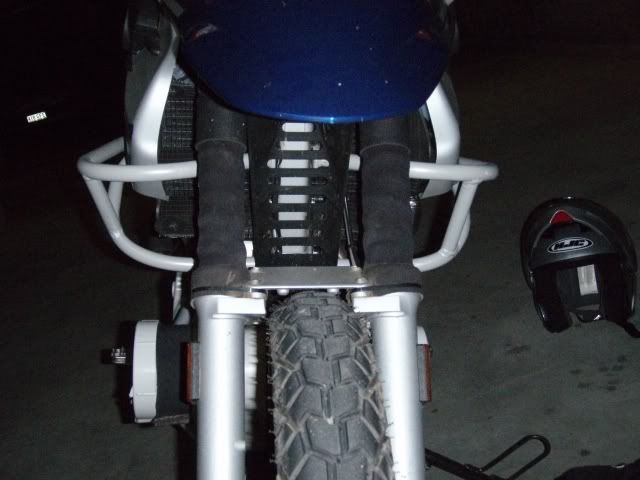
I didn’t really like any of the crash bars sold on the market, so I decided to make my own.
I never really did anything like this before so it took a lot of blood sweat and tears, but I’m really happy with what I ended up with.
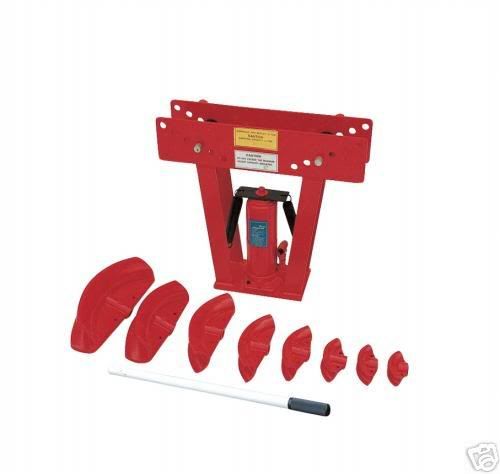
I got a pipe bender off eBay, some pipe and some plastic conduit with steel wire in it for a form.
Here some pickies:
The bender
The formed conduit taped onto the bike
The bent steel
Welded, powdercoated and fitted
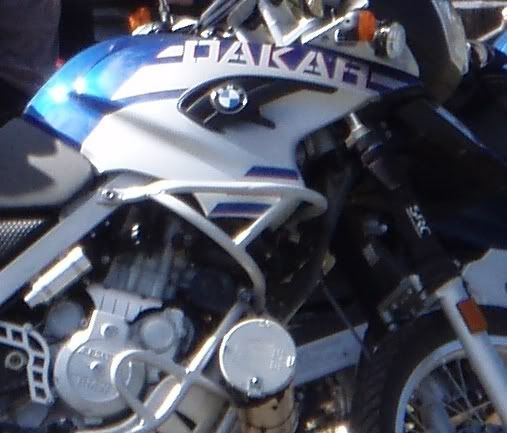
See the links on the right hand side for more information.
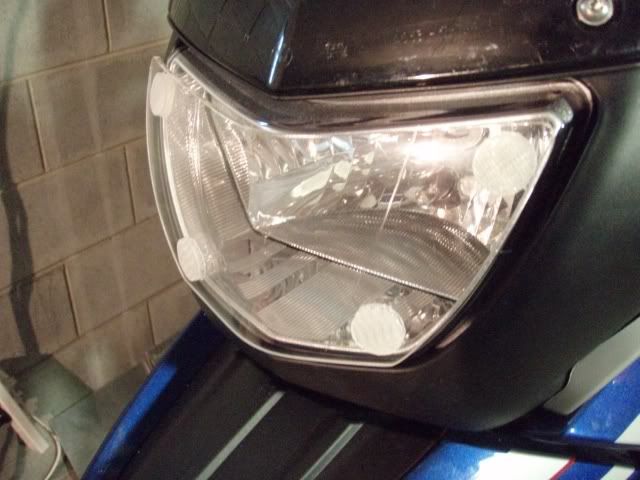
To protect the head light I went with an AMHP cover which is Aussie made. We had a similar protector on the old bikes for the last trip, and they did the trick.
Acerbis Multiplo hand guards are to protect the handlebar, levers and hands. I went with the hinged mounts. The mount on the right had to be mount upside down to fit.

Acerbis mount their hand guards with a expanding pipe anchor which goes into the ends of the handle bar. Unfortunately BMW built custom bars to suit the wiring of their heated grips which is fed through the ends.
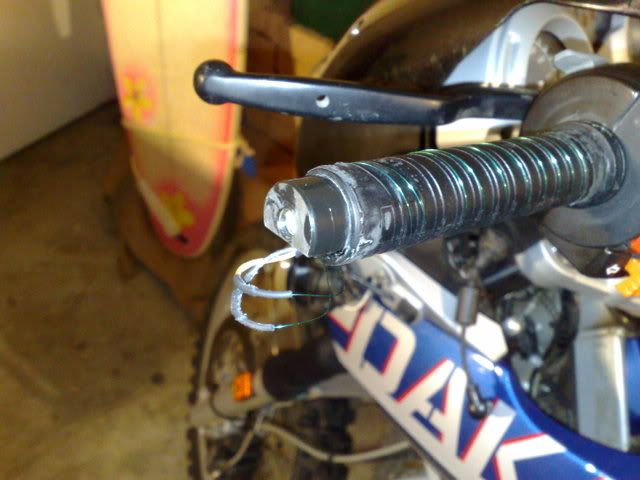
As shown in the picture, the bars have some thread which is only 6mm and we kept bending the bolt after a crash.
I wanted to get rid of the BMW bars and get some aftermarket ones which are much stronger, and in the case of the bars needing replacing on the road I could just swap them. I went with the Renthal Dakar High bend which is very close to the original but a bit wider. Because they were wider I would need to replace the TouraTech 3cm longer brake hose that I put on when I added the bar risers. I quite like the PVC coated Spiegler brake hose I got though.
The heated grips are just resistance wire wound over a PVC tube which has grooves cut into them. They do this on both sides which means the diameter of the grips are the same on both sides. This means that when you have to replace your grips you would have to buy 2 sets for 1 bike. I could buy new heated grips, but was really too cheap to do this when I had perfectly working grips. So I thought to just rewind the wire into the other direction. The BMW grips are also a bit longer which meant I needed to cut the throttle tube a bit as well.
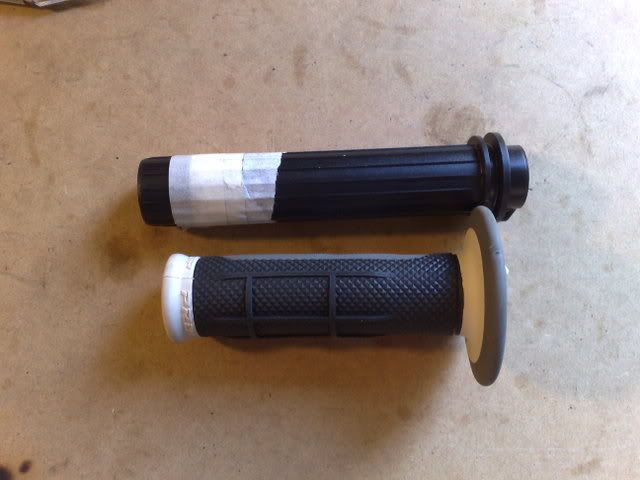
This is the clutch end ready to have the grip slid over it.
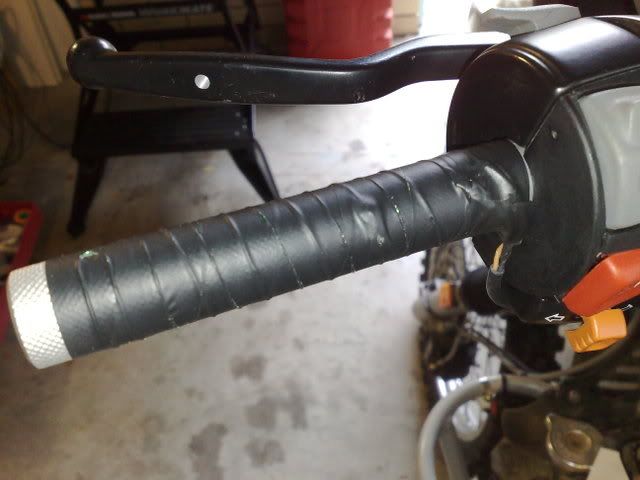
What the picture doesn’t show is the heatshrink which I put over the handlebar and wound the wire over.
This is the resulting look
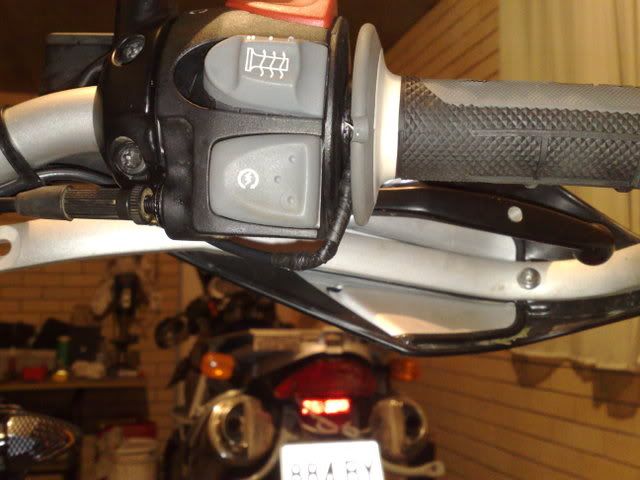
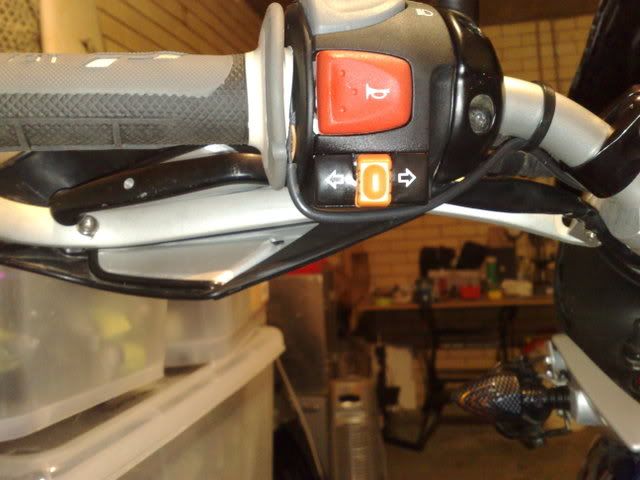
The stock bashplate is a bit short. So I got some aluminium plate from the scrap yard and cut in the right shape.
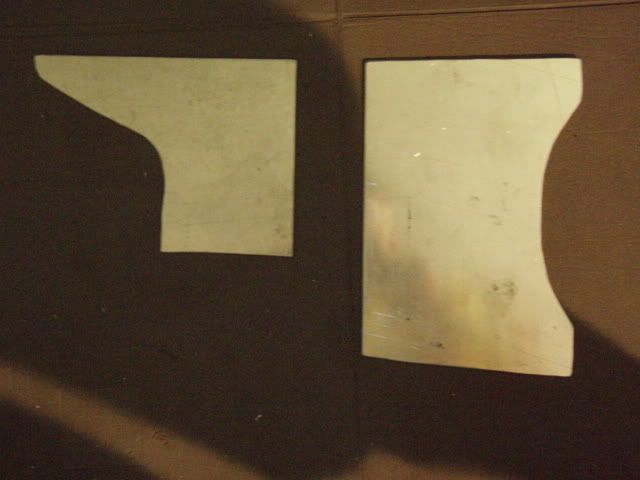
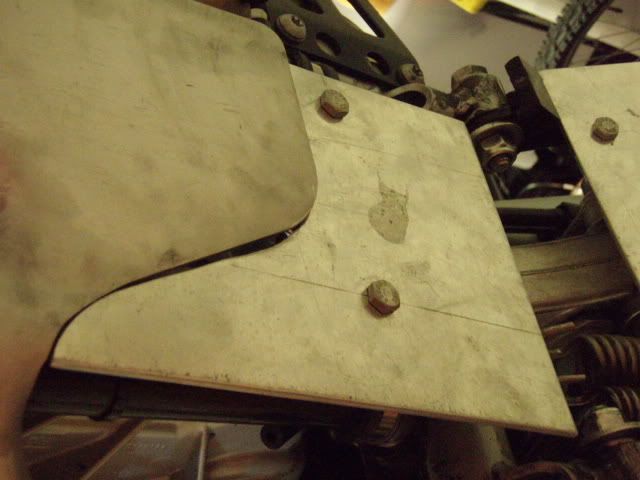
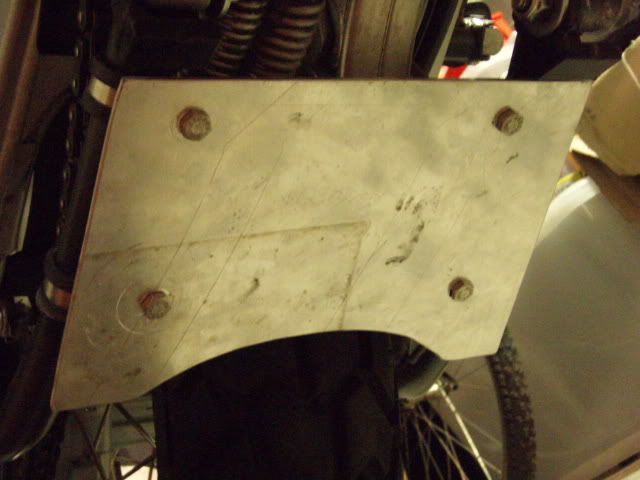
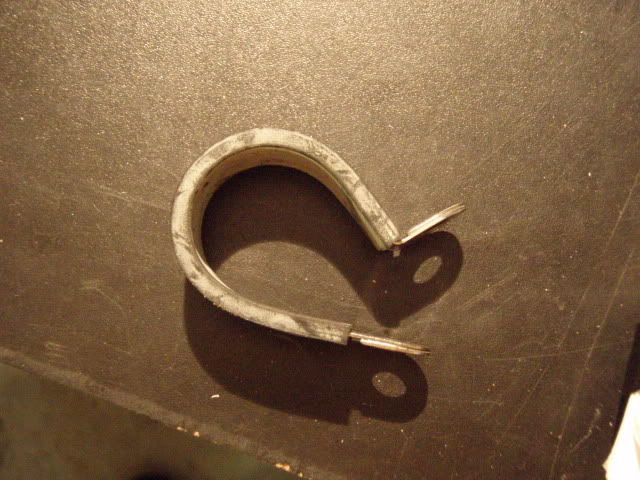
Fitted with some of these clamps
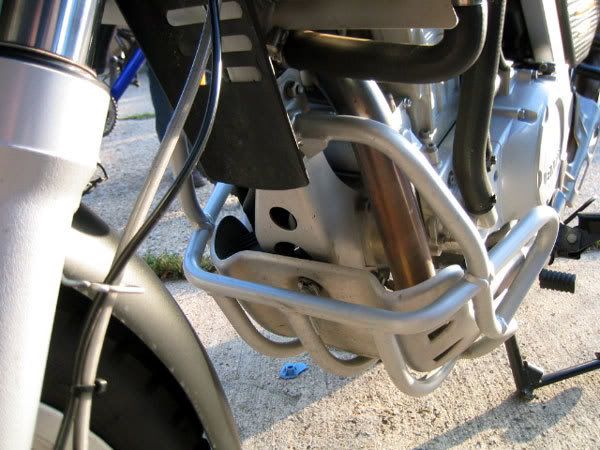
I went with the BMW engine crash bars because they’re pretty cheap and I couldn’t be bothered building anything for it. It looks really good as well I reckon.
